In this comprehensive guide, we will explore the process of using file recovery software to restore lost or damaged photos. We will delve into each step, provide practical tips, and address common concerns to ensure a successful recovery process.
Step 1: Choosing the Right File Recovery Software
Selecting the appropriate software is crucial for effective photo recovery. Popular options include Recuva, EaseUS Data Recovery, and Disk Drill. These tools are renowned for their user-friendly interfaces and robust recovery capabilities. It's essential to choose software that supports a wide range of file formats and offers a high success rate for photo recovery.
Step 2: Installing and Launching the Software
Once you've selected the software, proceed with the installation. Ensure that you download the software from the official website to avoid malware. After installation, launch the program. Most recovery tools provide a straightforward setup process, guiding you through each step.
Step 3: Selecting the Scan Location
Identify the storage device or folder where the lost photos were located. This could be an internal hard drive, external USB, or SD card. Accurate selection of the scan location is vital to minimize scan time and increase the chances of successful recovery.

Step 4: Initiating the Scan
Start the scanning process. The software will analyze the selected location for recoverable files. Depending on the size of the storage device and the extent of data loss, this process can take from a few minutes to several hours. Advanced software offers both quick and deep scan options, with the latter providing a more thorough search.
Step 5: Previewing and Selecting Photos
After the scan completes, the software will display a list of recoverable files. Use the preview feature to identify the photos you wish to restore. This step ensures that you only recover the necessary files, saving time and storage space.
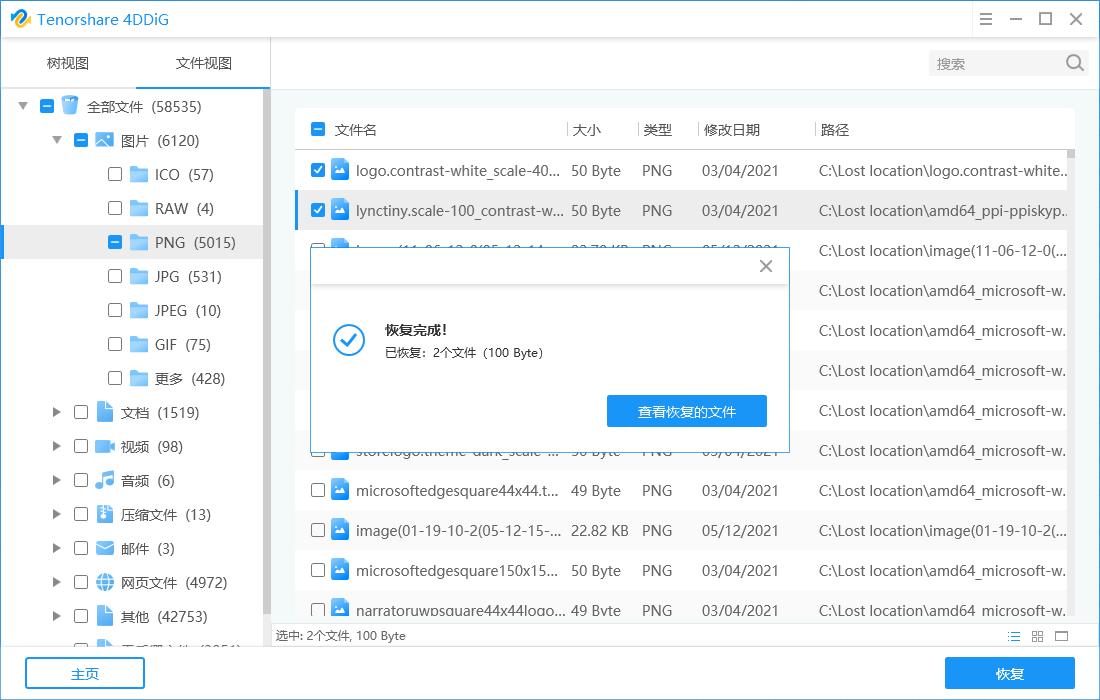
Step 6: Restoring the Photos
Select the desired photos and choose a safe location to save them. Avoid saving the recovered files to the same location where they were lost to prevent data overwriting. The software will then restore the photos to the specified directory.
Tips and Precautions
- Regular Backups: Always maintain regular backups of your important photos to prevent data loss.
- Avoid Overwriting: During recovery, save files to a different location to avoid overwriting existing data.
- Use Professional Software: Opt for reputable recovery software to ensure data security and successful recovery.
Frequently Asked Questions
- Is Photo Recovery Software Safe?: Yes, provided you download it from a trusted source. Always verify the software's authenticity to avoid malware.
- What is the Quality of Recovered Photos?: The quality depends on the extent of damage to the original files. Undamaged files are usually restored in their original quality.
- Can Photos Deleted Long Ago Be Recovered?: The success rate depends on how long ago the files were deleted and the usage of the storage device since deletion. Early recovery attempts yield better results.
Conclusion
By following this guide, users can effectively use file recovery software to restore lost photos. Remember, regular backups and the use of professional software are key to safeguarding your valuable data.
For more information, visit File Recovery - Photo Recovery.